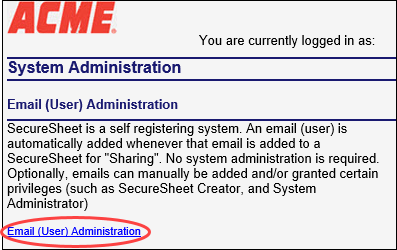
Email (User) Administration
SecureSheet is a self-registering system. No system administration is required to add users. An email (user) is automatically added to your SecureSheet main Email (User) Administration file whenever an email is added through SecureSheet Sharing (i.e., you are sharing at least one view to a user within a specific SecureSheet).
An email (user) may be added manually through the Email (User) Administration tool, though Sharing is the primary way emails are automatically created as users in SecureSheet.
An email (user) may also be granted System administrator permission which allows that specific email system-wide access to your SecureSheet site.
The following tools are available to maintain email (user) addresses individually in Email (User) Administration:
- Reset Password
- Remove Sharing
- Copy Sharing
- Add Email Address
- Change Email Address
- Delete Email
- SecureSheets Where Used
- Share Admin to All Sheets
Over time using SecureSheet, you may find that you need to delete email addresses from your main Email (User) Administration file to remove email addresses that are no longer needed by the system.
Maintaining Email (User) Administration
- Login to SecureSheet.
- Click System Administration in the upper right navigation on your SecureSheet home page.

- Click Email (User) Administration.
- You may manage a user’s set up through the tasks in the Admin Tasks drop-down (steps for each task provided below):

OR
You may Edit an individual user’s row to maintain their user information and administrator privileges:

- Click Edit next to the user’s row you want to update. The row will become updatable.
- Update the user’s Last Name, First Name, Job Title and/or Employee ID fields.
- Check the File Attachmentadministrator checkbox to allow the user to use File Attachments in SecureSheet (often reserved for the project team).
- Check the administrator checkbox to allow the user administrator privileges across your organization’s entire SecureSheet site.
- Click Upd to save your changes.

Reset Password
If your organization users are logging in through SecureSheet’s login page, you may create a new temporary password for a user if needed. If your organization is using Single Sign-On (SSO), you will not need to reset passwords for users, as their authentication will be managed through SSO.
It is recommended that users logging in through SecureSheet’s login page manage their own passwords. If a user forgets their password, they may click the “Forgot Your Password?” link on the login page to receive a temporary password from the system. However, in special scenarios, a user may require a manual reset.
- Select Reset Password from the Admin Tasks drop-down for the user whose password you want to reset. The Temporary Password column will be blank.

- The Temporary Password column will fill in with a Temporary Password that you may copy and send to the user.
NOTE: You will know when the user has logged in and reset their Temporary Password when the Verified column is Y and the Temporary Password column is blank.

Remove Sharing
Remove a user from all SecureSheets that they are shared to in your organization. You must complete this task before you will be able to delete an email from the system.
- Select Remove Sharing from the Admin Tasks drop-down next to the user whose sharing permissions you want to remove.

- You will be automatically returned to the user list. If this user should not be able to access SecureSheet any longer, be sure to delete them from the system.
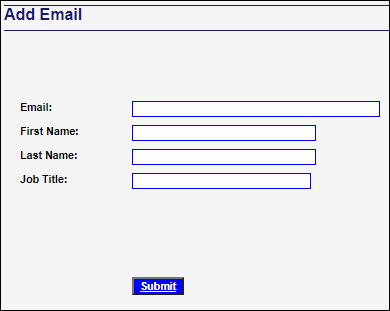
Add Email Address
Add an email address for a user. You may use this tool if you are adding a user who will only impersonate another end user in SecureSheet and not have any other views related to their role. Their email address needs to be in the system so that they may login and impersonate as an end user (which you would setup separately.
- Click Add Email.

- Fill out the details on the Add Email screen.
- Click Submit. The email address is now in the Email (User) Administration file for your site.
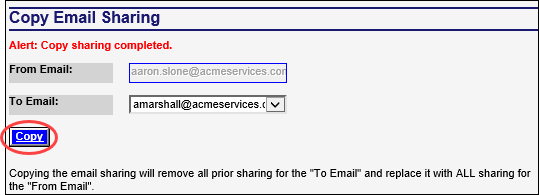
Copy Sharing
Copy one user’s sharing profile to another user who requires the same security access.
- Select Copy Sharing from the Admin Tasks drop-down next to the user whose profile you want to copy TO another user.

- The user profile you select to copy will default to the From Email field.
- Select the user you want to copy the sharing profile to from the To Email drop-down.
- Click Copy.
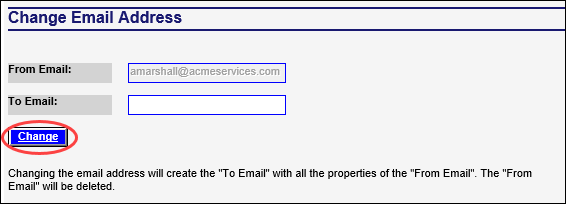
Change Email Address
Change the email address for a user. Their Sharing security remains the same. The email address you change from will be deleted.
- Select Change Email Address from the Admin Tasks drop-down next to the user whose email you want to change.

- The From Email will default to the user’s existing email.
- Enter the updated email address in the To Email field.
- Click Change.
Delete Email
Delete a user from the system. In order to delete a user from SecureSheet, you must first Remove Sharing from their email address.
- Select Delete Email from the Admin Tasks drop-down next to the user you want to delete from SecureSheet.

- You will be automatically returned to the user list and the email address will have been deleted from the system.
NOTE: If you delete an email from the Email (User) Administration table in SecureSheet, the user may still be on the Users tab of a Users-Views SecureSheet(s). Even if they remain on the Users tab, they will not have access to SecureSheet(s) because you removed sharing and deleted their email address here.
SecureSheets Where Used
Display a list of all the SecureSheets and tabs within each sheet currently shared to a user.
- Select SecureSheet Where Used from the Admin Tasks drop-down next to the user whose Sharing you want to see.

- You will see a list of all SecureSheets and tabs (Sheet Name) within each SecureSheet shared to this user.

Share Admin to All Sheets
Grant administrator permission to all SecureSheets and tabs within each sheet to a user.
- Select Share Admin To All Sheets from the Admin Tasks drop-down next to the user who you want to grant administrator permission.

- You will be automatically returned to the user list. This user will have administrator access to all SecureSheets and all tabs within each SecureSheet in your SecureSheet site.