Reset Rows
In the setup phase for Year 2 and Beyond, it is important to preserve the column settings and security that are already setup in SecureSheet, so any column additions or deletions to the model will be made online first before you import an updated Excel file.
Before inserting and deleting columns, reset rows so that the structural changes can be made faster across just a few rows of data versus your entire data set (which you will refresh before opening up your next planning cycle).
Note: Make sure you have a copy or an export of your prior SecureSheet for reference before resetting rows. Reset rows clears cell history. Do not reset rows to add rows to an active SecureSheet. If you need to add rows to an active SecureSheet, use the view created specifically for adding rows to an active SecureSheet. If you do not have a view to do so and need assistance setting one up, contact the SecureSheet support team.
Note: Another way to clean up or update rows offline is to lock the SecureSheet, export, delete unneeded rows, import and unlock the SecureSheet.
Resetting Rows in a SecureSheet
- Login to SecureSheet.
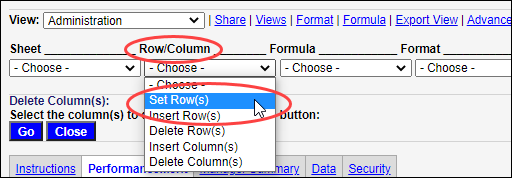
- Select Administration from the View: drop-down.
- Select Set Rows from the Row/Column drop-down.
- Enter the number of rows you want to reset this SecureSheet to (typically 1 or 2 rows beneath the row with your column headings to preserve the formulas in your data rows):
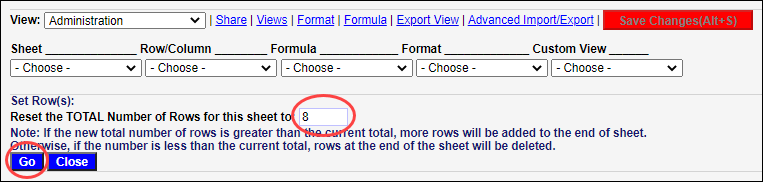
- Click Go.
- Click Close.
- Insert/delete columns as necessary.
- Export from SecureSheet and refresh your data for the next cycle. Make sure to roll your formulas down the entire length of your data rows.
- Import your updates to SecureSheet.